在不同服务器环境下设置http转跳到https

在不同服务器环境下设置http转跳到https
老刘博客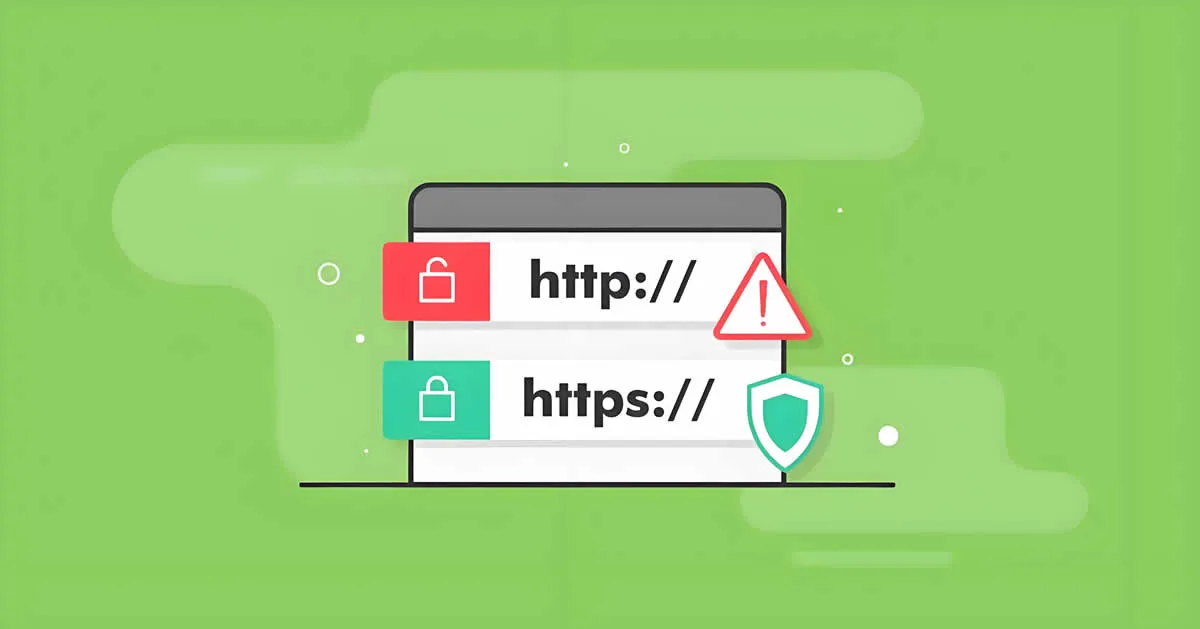
近两年随着https的流行和强制,很多网站都需要设置https访问,不然的话,一般情况下是浏览器URL地址栏爆红,但是https到底如何不安全,我没有测试过,关键是不知道如何测试,甚至有些站长朋友添加了SSL证书,也会自动访问http的地址链接,怎么设置http跳转到https?有些站长朋友并不清楚,其实只需要在为网站部署SSL证书后,就可以实现https加密访问,但是网站的用户往往习惯了http访问,这个时候我们就需要设置访问http时自动跳转到https。下面收集了几种常见的服务器环境下设置http跳转到https方法,供大家参考:
Apache设置http跳转到https
Apache环境下实现整站http自动跳转到https需在网站的配置文件的标签内,键入以下内容:
1
2
3
RewriteEngine on
RewriteCond %{SERVER_PORT} !^443$
RewriteRule ^(.*)?$ https://%{SERVER_NAME}/$1 [L,R]如果对某个目录做https强制跳转,则复制以下代码:
1
2
3
4
5
RewriteEngine on
RewriteBase /yourfolder
RewriteCond %{SERVER_PORT} !^443$
#RewriteRule ^(.*)?$ https://%{SERVER_NAME}/$1 [L,R]
RewriteRule ^.*$ https://%{SERVER_NAME}%{REQUEST_URI} [L,R]如果只需要对某个网页进行https跳转,可以使用redirect 301来做跳转:
1
redirect 301 /你的网页 https://你的主机+网页
IIS设置http跳转到https
需要大家注意的是,IIS版本下设置http跳转https,iis的6.0和7.0及以上版本的设置方法有区别:
IIS6.0中实现http跳转https方法是修改以下文件:
1
C:\WINDOWS\Help\iisHelp\common\403-4.htm
IIS7.0及以上版本是路径:
1
C:\inetpub\custerr\zh-CN\403.htm
把以下内容全部拷贝替换(403-4或403)里面所有内容,保存即可(修改之前先备份下403文件)注意修改之前做好备份,而且该页必须通过安全通道查看:
1
2
3
4
5
var url = window.location.href;
if (url.indexOf(“https”) < 0) {
url = url.replace(“http:”, “https:”);
window.location.replace(url);
}上述代码,应该是放在403文件之中的
1
2
3
<script type="text/javascript">
</script>代码的中间,这种方法我没有测试,主要是使用的虚拟主机,接触不到这个文件,不过可以使用web.config文件来设置跳转,代码如下:
1
2
3
4
5
6
7
8
9
10
11
12
13
14
15
16
<configuration>
<system.webServer>
<rewrite>
<rules>
<rule name="http redirect to https" stopProcessing="true">
<match url="(.*)" />
<conditions>
<add input="{HTTPS}" pattern="^OFF$" />
<add input="{HTTPS_HOST}" pattern="^(localhost)" negate="true" />
</conditions>
<action type="Redirect" url="https://{HTTP_HOST}/{R:1}" />
</rule>
</rules>
</rewrite>
</system.webServer>
</configuration>感兴趣的朋友可以试一试。同时还需要勾选网站要求SSL通道访问:IIS6中,站点属性-》目录安全性-》编辑中把“要求安全通道(SSL)”勾选。IIS7、8中,SSL设置勾选“要求SSL”即可。(备注:如果IIS上面有多个站点,恢复以上操作,然后使用下面的“单页面跳转通用代码”)
Nginx服务器:
Nginx服务器设置http跳转到https估计最简单,只需要在配置80端口的文件里面,写入以下内容即可:
1
2
3
4
5
6
7
8
server {
listen 80;
server_name localhost;
rewrite ^(.*)$ https://$host$1 permanent;
location / {
root html;
index index.html index.htm;
}如果没有配置SSL的文件,大家也可以参看一下下面的代码:
1
2
3
4
5
6
7
8
9
10
11
12
13
14
15
16
17
18
19
20
21
22
23
24
25
26
27
28
29
30
nginx配置
server {
listen 443 ssl;
server_name 132.151.6.10;
ssl_certificate /home/g/.local/share/mkcert/rootCA.crt;
ssl_certificate_key /home/g/.local/share/mkcert/rootCA.key;
# 停止通信时,加密会话的有效期,在该时间段内不需要重新交换密钥
ssl_session_timeout 5m;
# TLS握手时,服务器采用的密码套件
ssl_protocols TLSv1 TLSv1.1 TLSv1.2;
# 服务器支持的TLS版本
ssl_ciphers ECDHE-RSA-AES128-GCM-SHA256:HIGH:!aNULL:!MD5:!RC4:!DHE;
# 开启由服务器决定采用的密码套件
ssl_prefer_server_ciphers on;
location / {
......
}
}
server {
listen 80;
server_name 132.151.6.10;
# 将请求改写为HTTPS(这里写你配置了HTTPS的域名)
rewrite ^(.*)$ https://132.151.6.10;
}
# 验证配置文件是否有效
sbin/nginx -t
# 重启
nginx -s reload
Tomcat的配置:
首先是修改配置文件conf/server.xml
1
2
3
4
5
6
7
<Connector port="443" protocol="HTTP/1.1" SSLEnabled="true"
maxThreads="150" scheme="https" secure="true"
keystoreFile="conf/domains.jks"
keystorePass="xxxxxx" //证书密钥 ,密码文本那个
clientAuth="false" sslProtocol="TLS" />
<Connector port="8088" protocol="HTTP/1.1" SSLEnabled="true" maxThreads="150" scheme="https" secure="true" keystoreFile="/data01/abc/abc_web/tomcat/ssl/abc.com.cn.jks" keystorePass="abc" clientAuth="false" sslProtocol="TLS" connectionTimeout="20000" maxHttpHeaderSize="81920" relaxedQueryChars="<>[\]{|}" URIEncoding="utf-8" />然后是conf/web.xml中的</welcome- file-list>节点后面添加如下代码,也就是倒数第二段里,
1
2
3
4
5
6
7
8
9
10
11
12
13
14
15
<login-config>
<!-- Authorization setting for SSL -->
<auth-method>CLIENT-CERT</auth-method>
<realm-name>Client Cert Users-only Area</realm-name>
</login-config>
<security-constraint>
<!-- Authorization setting for SSL -->
<web-resource-collection >
<web-resource-name >SSL</web-resource-name>
<url-pattern>/*</url-pattern>
</web-resource-collection>
<user-data-constraint>
<transport-guarantee>CONFIDENTIAL</transport-guarantee>
</user-data-constraint>
</security-constraint>然后是一段防止域名恶意解析的代码
1
2
3
4
5
6
7
8
9
10
11
12
13
14
15
16
17
18
19
20
21
22
23
24
25
<Engine name="Catalina" defaultHost="forbiden">
<Realm className="org.apache.catalina.realm.LockOutRealm">
<!-- This Realm uses the UserDatabase configured in the global JNDI
resources under the key "UserDatabase". Any edits
that are performed against this UserDatabase are immediately
available for use by the Realm. -->
<Realm className="org.apache.catalina.realm.UserDatabaseRealm"
resourceName="UserDatabase"/>
</Realm>
<Host name="forbiden" appBase="notexists" unpackWARs="true" autoDeploy="true" xmlValidation="false" xmlNamespaceAware="false"></Host>
<Host name="www.domin" appBase="webapps"
unpackWARs="true" autoDeploy="true" xmlValidation="false" xmlNamespaceAware="false">
<!-- SingleSignOn valve, share authentication between web applications
Documentation at: /docs/config/valve.html -->
<!--
<Valve className="org.apache.catalina.authenticator.SingleSignOn" />
-->
<!-- Access log processes all example.
Documentation at: /docs/config/valve.html
Note: The pattern used is equivalent to using pattern="common" -->
<Valve className="org.apache.catalina.valves.AccessLogValve" directory="logs"
prefix="localhost_access_log" suffix=".txt"
pattern="%h %l %u %t "%r" %s %b" />
</Host>
</Engine>不知道如何使用,在这里做一个标记!貌似Tomcat的版本有好几个,总体来说,Tomcat的设置,需要上传证书,配置证书,配置代码三个步骤,感兴趣的站长来测试,我没有这种环境,只是简单的记录一下代码。


